Use of ZOOM

 Download PDF

Use of ZOOM

What is Zoom?

This accessibility feature allows you to magnify the screen for all applications.

Where to find Zoom?

Settings/General/Accessibility/Zoom

Zoom works on all screens: home screen, lock screen, spotlight, and other applications bought from the App Store.
Since iOS 6, Zoom works perfectly with VoiceOver.

How to use Zoom?

Once the feature is activated, tap two times with three fingers and slide on the tablet from the bottom to the top in order to adjust the magnification (from 100% to 500%).
Once you have the ideal magnification picked, it can be activated or deactivated by touching the screen two times with three fingers.

To navigate on the page, slide three fingers. To move from one page to another, you only need one or two fingers.

For iOS 8, which comes out this autumn, Zoom has been entirely remade.

The first thing that you will notice is the new frame that appears when a part of the screen is magnified.

The navigation by a single finger is now possible thanks to a little joystick that appears when ZOOM is activated.

When you briefly touch this or at the bottom of the Zoom window, a menu will open to suggest:

  • The option for magnification.
  • The option for full screen mode.
    • Allows you to change back to iOS 7’s magnification system.
  • Resize the frame where the magnification appears.
    • You can also customize the size of the frame itself.
  • Filter choices.
    • See below.
  • The option for joystick mode. 
    • Display/hide the navigation controller.
  • The size of Zoom.
    • It will let you magnify between 1.25 and 15x.

Proposed different filters:

  • Normal mode
  • Inverted colour mode
  • Grayscale mode
  • Inverted grayscale mode

Use of “VoiceOver”

 Download PDF

Use of “VoiceOver”

What is VoiceOver

VoiceOver is a screen reader that can transcribe with a synthetic voice, and/or provide a braille display that is attached to the screen and allows you to interact with the operating system and applications by using different gestures.

How to access it

Settings/General/Accessibility/VoiceOver

ATTENTION
Do not confuse the gestures for VoiceOver with the regular gestures for Apple devices; they are different. You can find a document showing all gestures for VoiceOver on “les fiches tactiles du CRETH” website.

Setting up VoiceOver

Once VoiceOver is activated, a voice will guide you in your navigation. To switch from one application to another, you can either swipe one finger on the screen towards the right, or hold a finger on the screen and navigate to search for the desired application. Once you have found the application, a voice will invite you to tap two times on the screen to open it. Image: The logos of “Wallonie familles santé handicap AVIQ”, “CRETH” and “SATIH”.

To navigate the application, follow the instructions below. To activate a function or a button, tap two times. If you access a textbox, tap two times. An AZERTY keyboard will appear on one part of the screen and allow you to type.

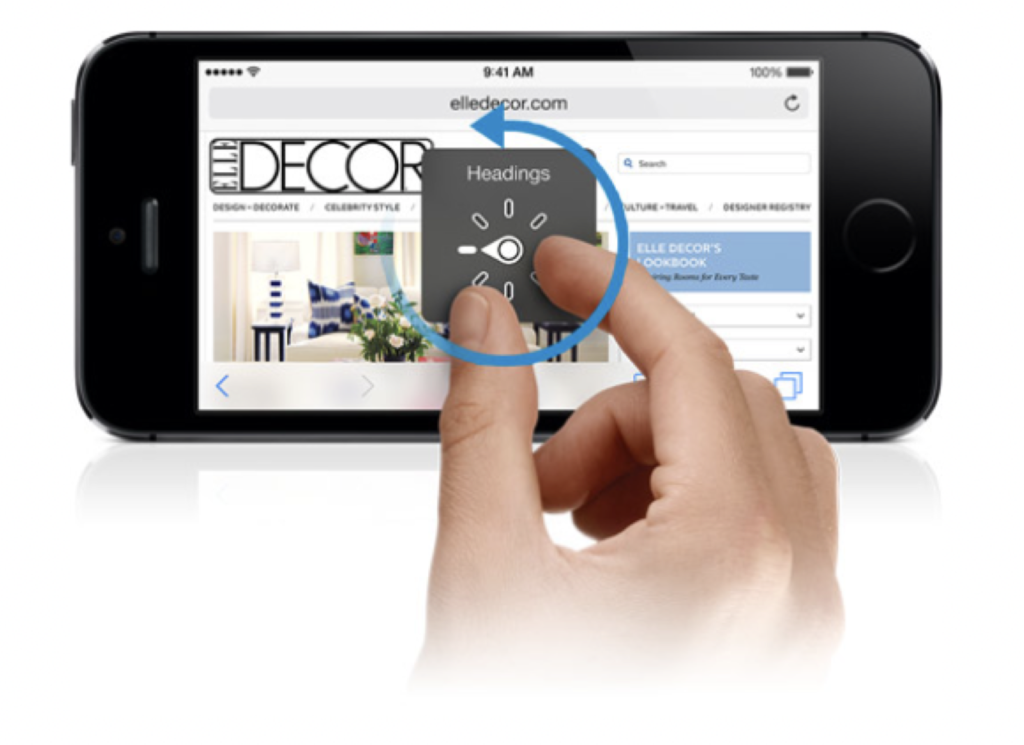
To interact with the settings for VoiceOver’s reading, you can activate the ROTOR. The ROTOR activates by turning two held fingers on the screen (similar to when you open the cap of a bottle) and allows you to access a series of options to facilitate the reading. Once the option is chosen, use it by sliding your finger towards the bottom or the top.

To move from one page to another, slide three fingers on the screen.

In the “typing” mode, you have two options:
Either the standard input, which allows you to find a letter with one finger and, while holding it down, confirm the input by quickly tapping another finger anywhere else on the screen. Secondly, the typing input, which allows you to use a single finger to find the letter and confirm by lifting the same finger.

Tip
To find out what each gesture does, you can find “VoiceOver training” in the accessibility tab.

Here are some additional tricks

  • To know the active page and the number of pages in total: touch the screen once with three fingers.
  • To read the content of a page from the selected element: slide two fingers towards the bottom.
  • To stop or restart the reading: touch the screen once with two fingers.
  • To activate or deactivate enunciation: touch the screen twice with three fingers.

Tip
In the accessibility features, at the bottom of the window, activate the triple click with VoiceOver. This will allow you to activate or deactivate it.

Using the “TalkBack” screen reader

 Download PDF

Using the “TalkBack” screen reader

What is TalkBack

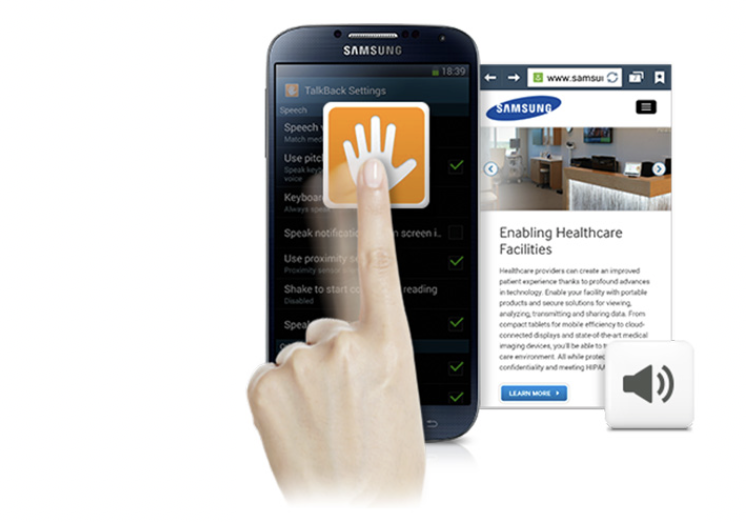
TalkBack is a preinstalled screen reader for Android. It uses vocal information to describe the results of actions, such as the launch of an application, and events such as notifications. This is possible with the use of different gestures.

How to access it

Application/Settings/My Device/Accessibility/TalkBack

Setting up TalkBack

Once TalkBack is activated, a voice will guide you through the navigation. To switch from one application to another, you can either swipe with one finger to the right or hold one finger on the screen and navigate by searching for the desired application. Once you have found the application, tap on the screen twice to open it. To navigate in the application, do as written above. To activate a function or button, tap

twice. If you want to access a textbox, tap twice. An AZERTY keyboard will appear on a part of the screen and will allow you to write text. To do this, search for the desired letter on the keyboard, and once found, lift your finger to confirm your input. To move from one page to another, slide two fingers on the screen. Image: The logos of “AWIPH”, “CRETH” and “SATIH”.

Here are different options proposed by Android to customize TalkBack

  • Volume of the voice: this also changes the volume of the phone.
  • Change of tone: the text that is entered can be pronounced with a lower tone.
  • Keyboard echo: repeat each touch that is used on the keyboard.
  • Speak when the screen is off.
  • Use proximity sensor: deactivate the voice during a call.
  • Shake to start continuous reading: can be used for reading a document.
  • Read the number of the caller: can be unchecked
  • Vibration: possibility to have the phone vibrate for each gesture used.
  • Audio return: emit a sound for each gesture used.
  • Prioritize the volume of the voice: the voice talks louder than other sounds of the phone.
  • Explore by touch: this option allows the phone to take note of TalkBack gestures. This option must be activated.

Other accessibility options that must be coupled with “TalkBack”

  • Improve accessibility for webpages: must be activated.
  • Set passwords: must be deactivated.
  • At the start and end of a telephone call:
    • Answer calls via voice command: activated.
    • Press the “Home” key to answer call: activated.
    • Hang up using the “On” button: activated.

Voice synthesis option

  • Speech rate offers 5 choices.

Other gestures

The contextual menus allow you to control continuous reading and the general controls of TalkBack. To access them:

  • Slide your finger towards the top then towards the right with a continuous gesture.
  • Slide your finger towards the bottom then towards the right with a continuous gesture.

Braille
If you want to pair your Android device with a braille display, you must download the application BrailleBack on the Google Play Store. Then you activate it in Application/Settings/My Device/Accessibility/BrailleBack.

Navigating with a Switch on my Android Smartphone using SWITCH ACCESS

 Download PDF

Navigating with a Switch on my Android Smartphone using SWITCH ACCESS

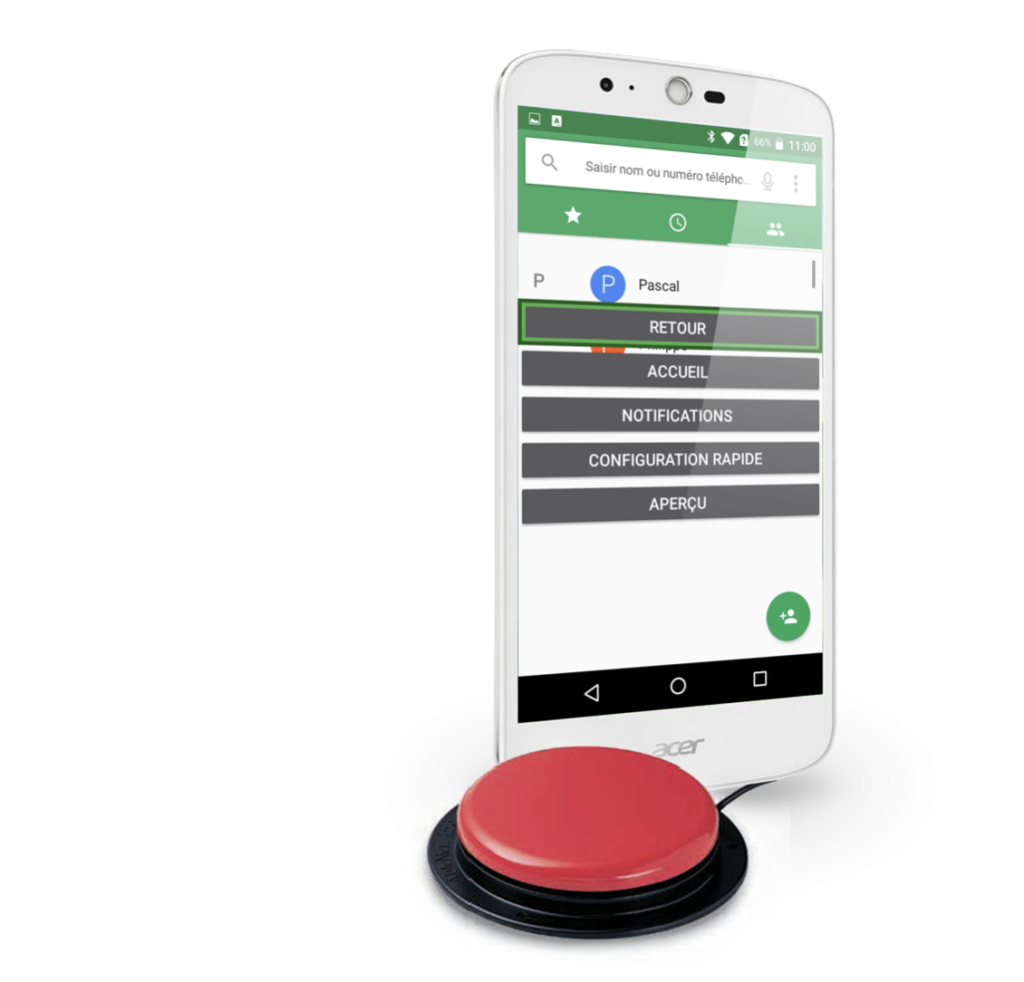
In the accessibility settings, Android has a feature that allows you to navigate your smartphone or tablet with a switch or a keyboard.

In fact, a person with motor difficulty can have trouble navigating on their smartphone by touch. Different types of switches can be used as alternatives to this problem.

The navigation is done by block (group of icons or functions) where you navigate automatically or manually by tapping on the switch.

In automatic mode, you only need one switch, but in manual mode, you need at least two switches; the first one to select “next” and the second one to select “enter”.

The configuration is not easy and may take a bit of time to refine the settings for a better experience.

To do this, go to:

Settings – Accessibility – Switch Access – Settings

Most Android smartphones have a “micro USB” port. There are multiple ways of connecting a switch to the Android device. For example: with the help of a micro USB to female USB cable, you can connect a “swift” key or a “simple switch” box where it is possible to connect multiple switches.

Even if most smartphones and tablets have this feature, check if “Switch Access” appears in your accessibility settings.

Android Settings for the Deaf and Hearing Impaired

 Download PDF

Android Settings for the Deaf and Hearing Impaired

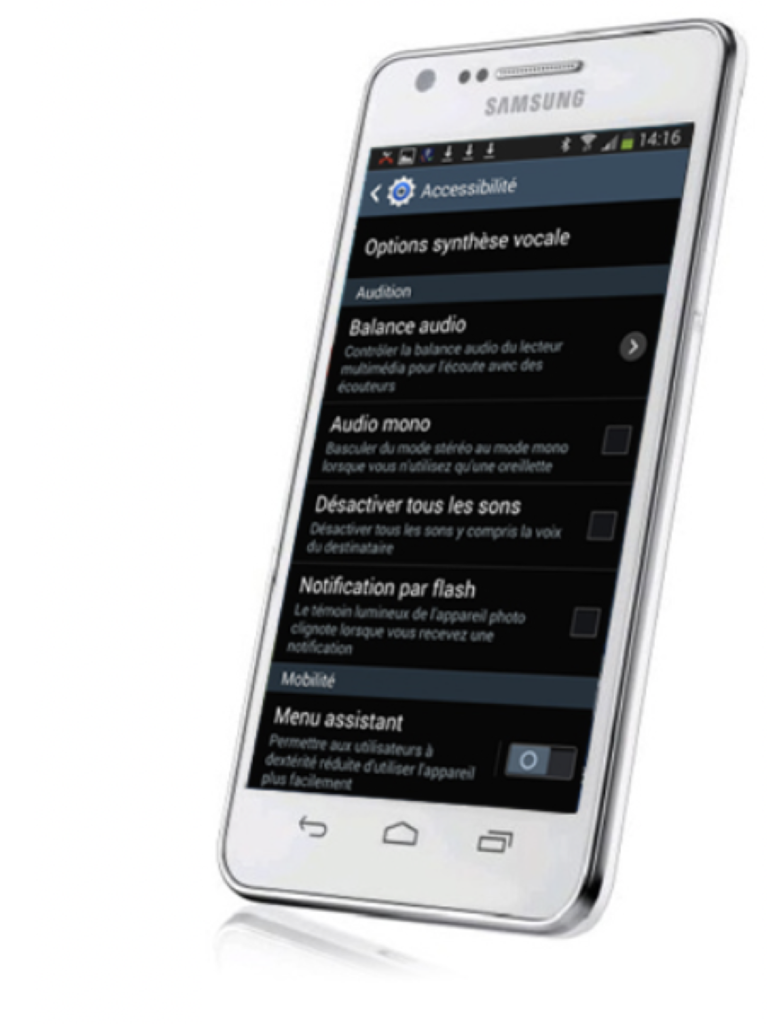
The settings that Android offers for people with hearing impairment are grouped into four subgroups:

  • Audio balance
  • Mono audio
  • Deactivate all sounds
  • Flash notification

You can find these settings in:

Settings/My Device/Accessibility/Audio settings

Audio balance is just left/right balance of the audio device. It allows you to personalize the balance for better listening comfort.

Mono audio merges the stereo sound channels into a single mono channel.

Deactivating all sounds makes your smartphone mute. You will not hear anything, not even the voice of callers.

Flash notification is a feature that blinks the flash of the camera to indicate that you have received a notification. To stop the blinking, you just turn the device over.

iPad, iPod, iPhone for people who are deaf and hearing impaired

 Download PDF

iPad, iPod, iPhone for people who are deaf and hearing impaired

Mono Audio

The iPad, iPod, and iPhone can direct auditory content from left and right audio channels in both earpieces. This allows users with a hearing impairment in one ear to listen to both audio channels in each ear simultaneously.

You can also modify the audio balance between both left and right audio channels.

Settings/General/Accessibility/Mono Audio

Messages with iMessage

Send unlimited messages with iMessage (without a subscription). Share videos, photos, locations and websites with friends. And thanks to group messaging, everyone can stay updated.

Settings/Message/iMessage

Flash LED for Notifications

Make your device’s LED diode blink to alert you of incoming calls and notifications. Or, make incoming calls display a full picture of the caller on the screen.

Settings/General/Accessibility/LED Flash for Alerts

Ambient Noise Suppression

The suppression of ambient noise reduces parasitic sounds when you are in a call in a noisy environment.

Settings/General/Accessibility/Phone Noise Cancellation

Another document will compare Facetime, Skype and Oovoo.

Three applications will allow you to make video calls online.

Learn how to use S-Voice

 Download PDF

Learn how to use S-Voice

What is S-Voice?

It is a voice recognition application which answers your questions and requests.

How to access it

There are two ways to do this. The first way is to press the “Home” button on your device two times, when the “beep” sounds, you can make your request. The other way is to tap the “S-Voice” icon and access the application directly.

Example

« Appointment tomorrow at 2PM at the dentist. »

« Here is your appointment: Dentist on 20 February 2017 at 2PM.
Would you like me to write in it your calendar? »

« Yes. »

« I will register your appointment. »

Tip

Long speeches should be avoided when using “S-Voice”. You have to use keywords and be specific. “S-Voice” works with Wi-Fi or 3G, but it can also be used without it if you use applications that do not require Internet access (word processing, calendar, etc…). If “S-Voice” has difficulty answer your question or doing a task, it is important to cancel your request before asking a new question.

When you are on “S-Voice”, you will find two buttons that are on either side of the central icon (the icon with a microphone). The one on the left will allow you to activate or deactivate speech synthesis. The one on the right will allow you to access examples of sentence wording for “S-Voice”.

Exploring Rotor Functions of VoiceOver

 Download PDF

Exploring Rotor Functions of VoiceOver

What is the Rotor

The rotor is a shortcut that allows people with visual impairments to access a series of functions at any time.

The rotor can be activated by turning two fingers held on the screen (like when you unscrew the cap of a bottle) and it allows you to access a series of features to facilitate your reading.
Once you select a feature (e.g., rate of speech), use it by sliding the finger downward or upward. (In this case, it is to modify the percentage of the rate of speech synthesis.)

Note that the rotor is activated permanently under VoiceOver and that all gestures towards the bottom or top correspond to the last choice selected on the rotor.

The rotor functions can vary based on the application where it is being used (including the home screen).

Reading

Characters: allows you to navigate from one letter to another on the screen.

Words: allows you to navigate from one word to another on the screen.

Lines: allows you to navigate from one line to another on the screen.

Headers: allow you to move from one title to another.

Image: The logos of “Wallonie familles santé handicap AVIQ”, “CRETH” and “SATIH”.

General

Speech Rate: allows you to increase or decrease the speech rate of the speech synthesizer.

Volume: allows you to increase or decrease the volume of the speech synthesizer.

Punctuation: makes the speech synthesizer pronounce a text with either all punctuations, some punctuation signs, or no punctuation.

Sound: activate or deactivate sound indicators of the help navigator.

Tips: activate or deactivate tips given by VoiceOver. Example: touch the screen two times quickly to open the application.

Writing: allows you to write in a handwritten way with your finger on the screen in a textbox.

Containers: allows you to move from one element to another.

Web Navigation

Headers: allows you to move from one title to another on the Internet.

Links: allows you to move from one link to another on the Internet.

Form Control: allows you to move from one section of the form to another on the Internet.

Tables: allows you to move from one table (Excel sheet or other) to another on the Internet.

Lists: allows you to move from one list to another on the Internet.

Markers: allows you to move from one marker (a specific location decided by the creator of the website) to another on the Internet.

Visited Links: allows you to move from one link that you have already visited to another on the Internet.

Unvisited Links: allows you to move from one link that you have never visited to another on the Internet.

Buttons: allows you to move from one button to another on the Internet.

Search Box:

Textbox: allows you to move from one textbox to another on the Internet.

Images: move from one image, symbol or picture to another on a website.

Static Text: move from one text area to another on a website.

Internal Links:

Zoom: allows you to zoom in or zoom out on a website.

Same Element: allows navigation in the mode of the previously chosen element.

Vertical Navigation: navigate vertically without taking links, articles or other elements that are decentered into account.

Note that we have discovered certain hidden features of the rotor. For example, the “Rows” function or the “Modify” function only appear in certain situations.

For iOS 8, VoiceOver has two new functions.

  • For instance, the braille input mode that we can find in the rotor. This input mode with two positions (flat on the table or with the outer face of the device on its belly) displays 6 circles on the screen, which represents the 6 braille points of a Perkins machine. You just have to use the braille alphabet to write text, and to quickly swipe one finger from the left to the right to insert a space.

Quickly activate/deactivate accessibility settings with ACCESSIBILITY SHORTCUT

 Download PDF

Quickly activate/deactivate accessibility settings with ACCESSIBILITY SHORTCUT

Description

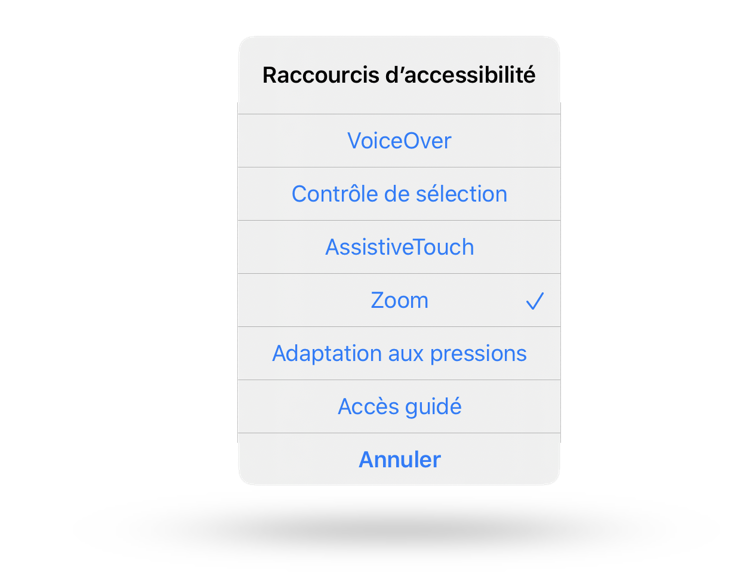
ACCESSIBILITY SHORTCUT is a shortcut for accessibility settings. Upon selecting the accessibility feature that you want in the “accessibility shortcut” setting, you can click on the home button on your device three times in order to activate them.

If you regularly use multiple accessibility features, you can select multiple features in the “accessibility shortcut” menu. In this case, the triple click on the home button will open a list of your selected accessibility settings.

How to access it

Go to:  Settings/General/Accessibility/ and at the bottom of the list – Accessibility Shortcut

Quick access to Accessibility Features

 Download PDF

Quick access to Accessibility Features

Description

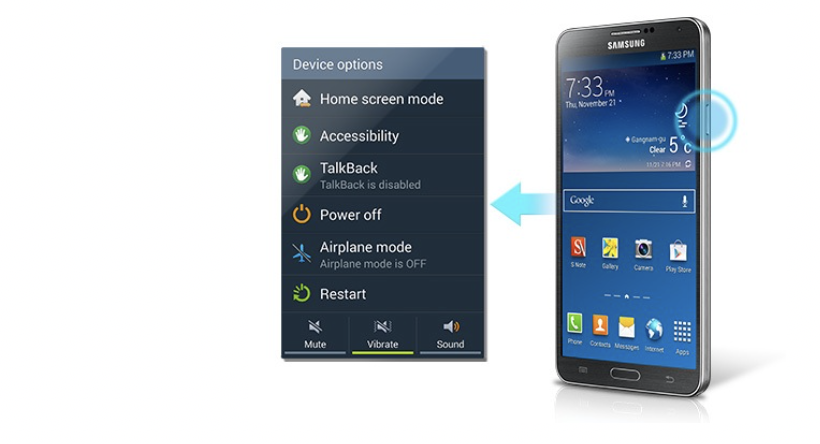
This setting gives the possibility to activate accessibility features, such as Talkback, in just two steps:

After restarting your device,

  • Press the power button on the right side of the device until you hear a sound or feel a vibration.
  • Hold two fingers on the screen until you hear a sound, such as a hiss.

The accessibility features will be activated without having to go through the settings. A practical shortcut. However, you cannot deactivate the features the same way. You have to go to the settings and deactivate them one by one.

Application/Settings/Accessibility/Accessibility features shortcut

Info: To use your smartphone after activating the feature, refer to the “TalkBack” document.